Showing posts with label American Girl Doll Clothes. Show all posts

Tuesday, January 22, 2013

Free American Girl Ballerina Pattern

I am loving this series on American Girl Doll Clothes! I am having fun taking scraps from other projects in my past and putting them together. The golden satin is from a dress I made in high school. Sarah suggested I add the ribbon to the ballet slippers.  I was so excited the way it all came together. Of course with a change of fabric, you could transform this into regular doll clothes and skip the ballet part. The instructions are very straight forward. I hope that you really enjoy making this for your little one.


The free pattern for this outfit can be found here: American Girl Ballerina Outfit
The free shoe pattern is in the pattern for the American Girl PJ's.

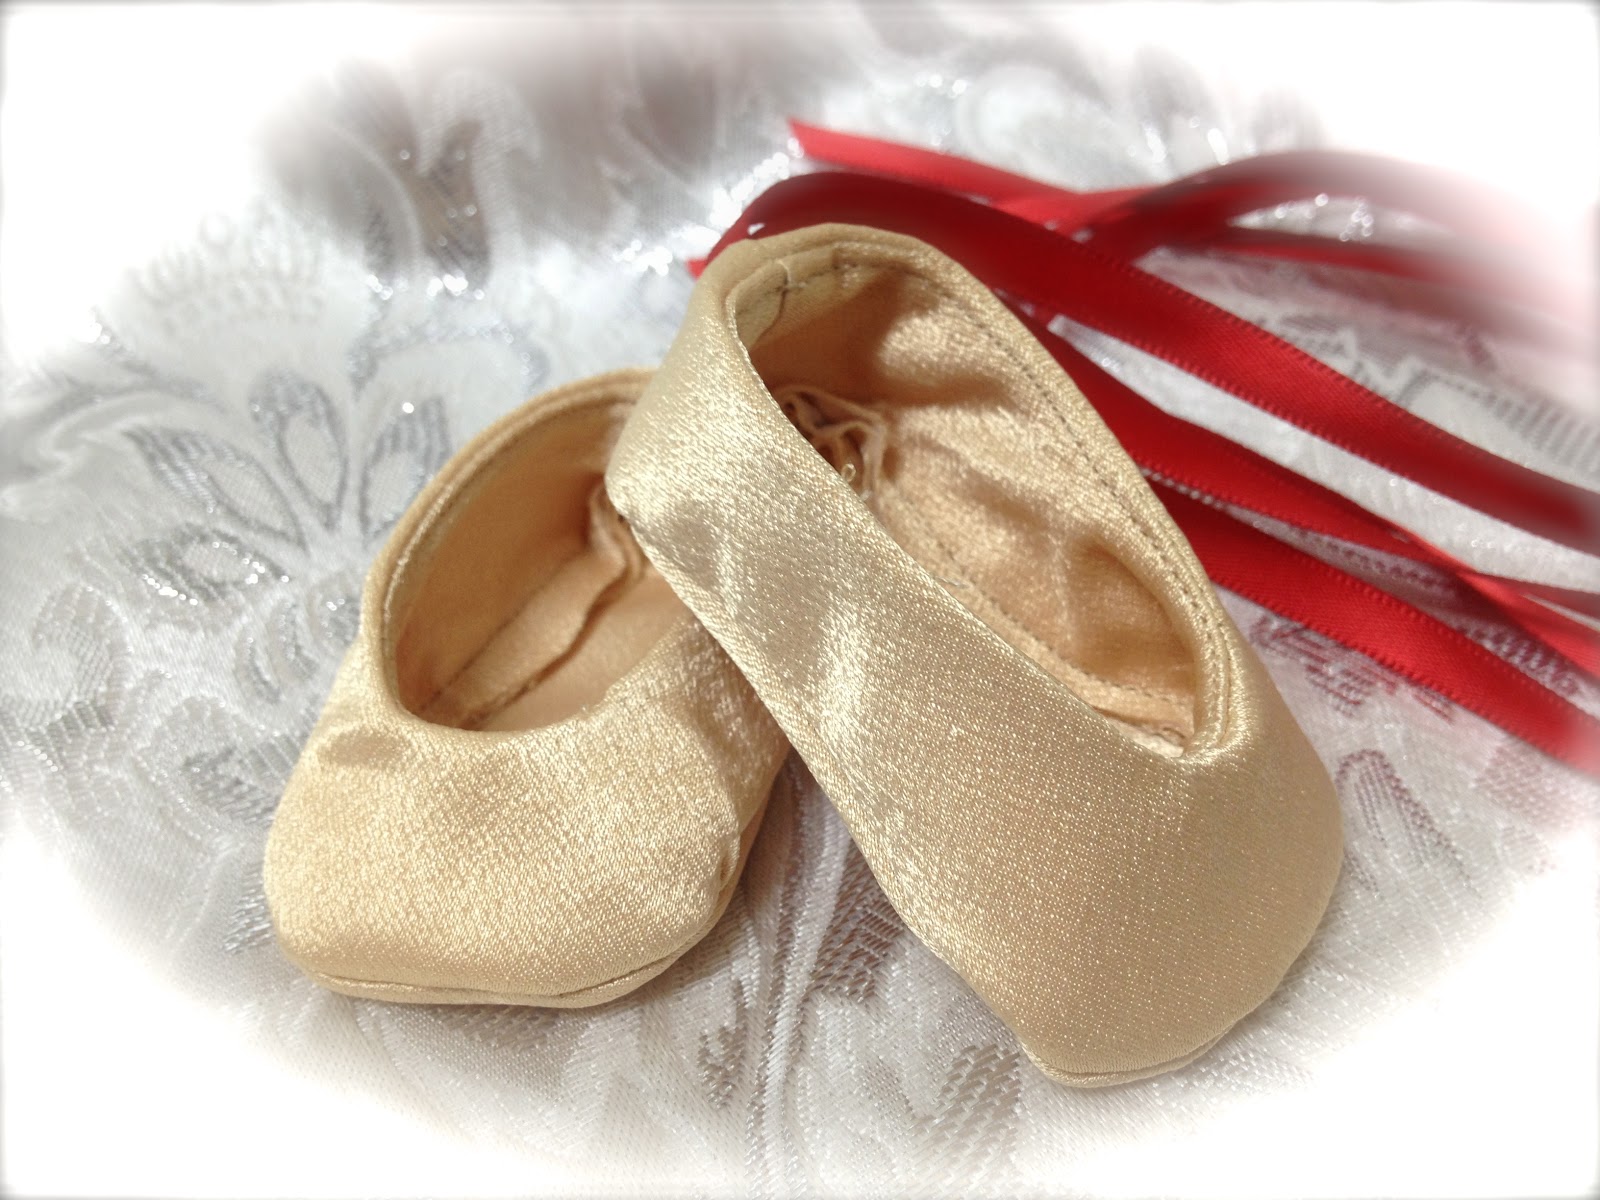

The instructions are very straight forward.  I have included pictures for the darts on the leotard and the interfacing that I added to the shoes because I used satin.


Darts are needed for the opening to fit the contour of the bottom.


What the dart looks like pinned.


A finished, sewn dart.

Now for the Shoes


Cut the interfacing a little smaller the the material your are pressing with the bumps down, so nothing gets on your iron or ironing board.

If you want ribbon, sew it in with the first seam.


Happy Sewing!! ~Julia

Linked Up with

Wednesday, January 16, 2013

American Girl Doll PJ's Pattern

Sew your own PJ's for your daughter's American Girl Doll. Find the pattern for this outfit here: American Girl Doll Pajamas Pattern Check back next week for a tutorial using the slippers and shoe pattern included in this link. The instructions for this pattern can be found here: PJ's Instruction This is the picture tutorial for the PJ Top and Bottom. The little girls in your life will love this outfit. Don't forget to check out Caroline's Ballerina Outfit.


So the pattern could all fit on one page, 
the instructions call for adding extra to the pattern.


I would be happy to help with any questions you may have!
Julia

Linked Up Here:
Growing Home
Crafty Confessions
Sugar Bee Crafts

Wednesday, January 9, 2013

American Girl Sweater Outfit

Here it is! Our first official post in the new Make It! Mid-Week series. For the next month, we'll be posting patterns and tutorials for making inexpensive American Girl Doll clothes. Check back each Wednesday for these fun, easy to do sewing projects.

For this project, I used an old Gap sweater that was given to me. It was beautiful and I was terrified to cut it.  I started and was very pleased with the result.  I did my best to use parts of the sweater that were already hemmed, so I sewed as little as possible. See the iPad Cozy, and mittens I made from the same sweater here.

The pant legs were the sleeves. I cut them off and then tried them on the doll to know how far down the  sleeve seam to cut for the doll's pant leg.  


I did a zig zag stich on the part I cut to keep the yarn from unraveling.


Then I pinned them together.


I tried the pants on the doll to see how wide the pants should be and where the waist should be making sure to leave enough for the waistband.


For the top sweater, I used the actual neck hole and put it on the doll inside out. That allowed me to easily pin and mark where I wanted to sew.


Once the you have sewed the seam and zig zagged along the seam, cut the excess sweater. It's much easier to reinforce the seam before you cut off the excess.

Try the out fit on the doll and hand sew the sleeve cuff.  My sleeve was shorter than you may want yours because I created two iPad holders, 1 pair of mittens, and this doll sweater and pant from one sweater.


I hope your daughter enjoys her cozy winter sweater outfit as much as me!! ~Julia

Linked Up with

Friday, June 8, 2012

American Girl 18 Inch or Bitty Baby Doll Matching Outfit


This fabric is available at JoAnn Fabric in various prints and lengths. Such an easy project!!

To make the matching little girl's shirt, click here: Matching Shirt Tutorial 

Step One: Cut Fabric 12 and a half inches wide.


Step Two: Determine the length you want your dress. As shown, I left two and a half inches on the top or bodice. For the Bitty Baby Alternative make it a half-inch shorter.


Step Three: Pin the desired length matching the elastic line to the top of the ruffle.


Step Three: Continued... The is what I mean by matching the lines on the right side.


Step Four: Sew along the existing seam of the ruffle.


Step Four: Extra Picture: Sew along the existing seam of the ruffle.


Step Five: Cut off the excess fabric.


Step Six: With right sides together, sew a side seam making sure you match the ruffle edges.


Step Seven: Refer to previous post DIY Summer Sewing Project For Your Daughter Steps 4 - 8.


Step Eight: Try the dress on the doll. Place seam on the side. Look at your sewing to see what should be the front or the back :) Pin the straps on the front and back.


To make the matching little girl's shirt,