Showing posts with label sewing projects. Show all posts

Wednesday, December 19, 2012

DIY Fabric Books $.99 Easy Gifts

These panels are so easy and fun. They can be purchased for as little as $1.00.


Trim the edges leaving a consistent seam allowance.

Each panel comes instructions of what pages should be sewn together.


Sew them together and press.

Trim the corners, so when you turn them the corners will be square.

Turn the pages right side out.


Sew down the center of the book creating a binding and connecting the pages.


~Julia

Machine Quilting a Small Quilt


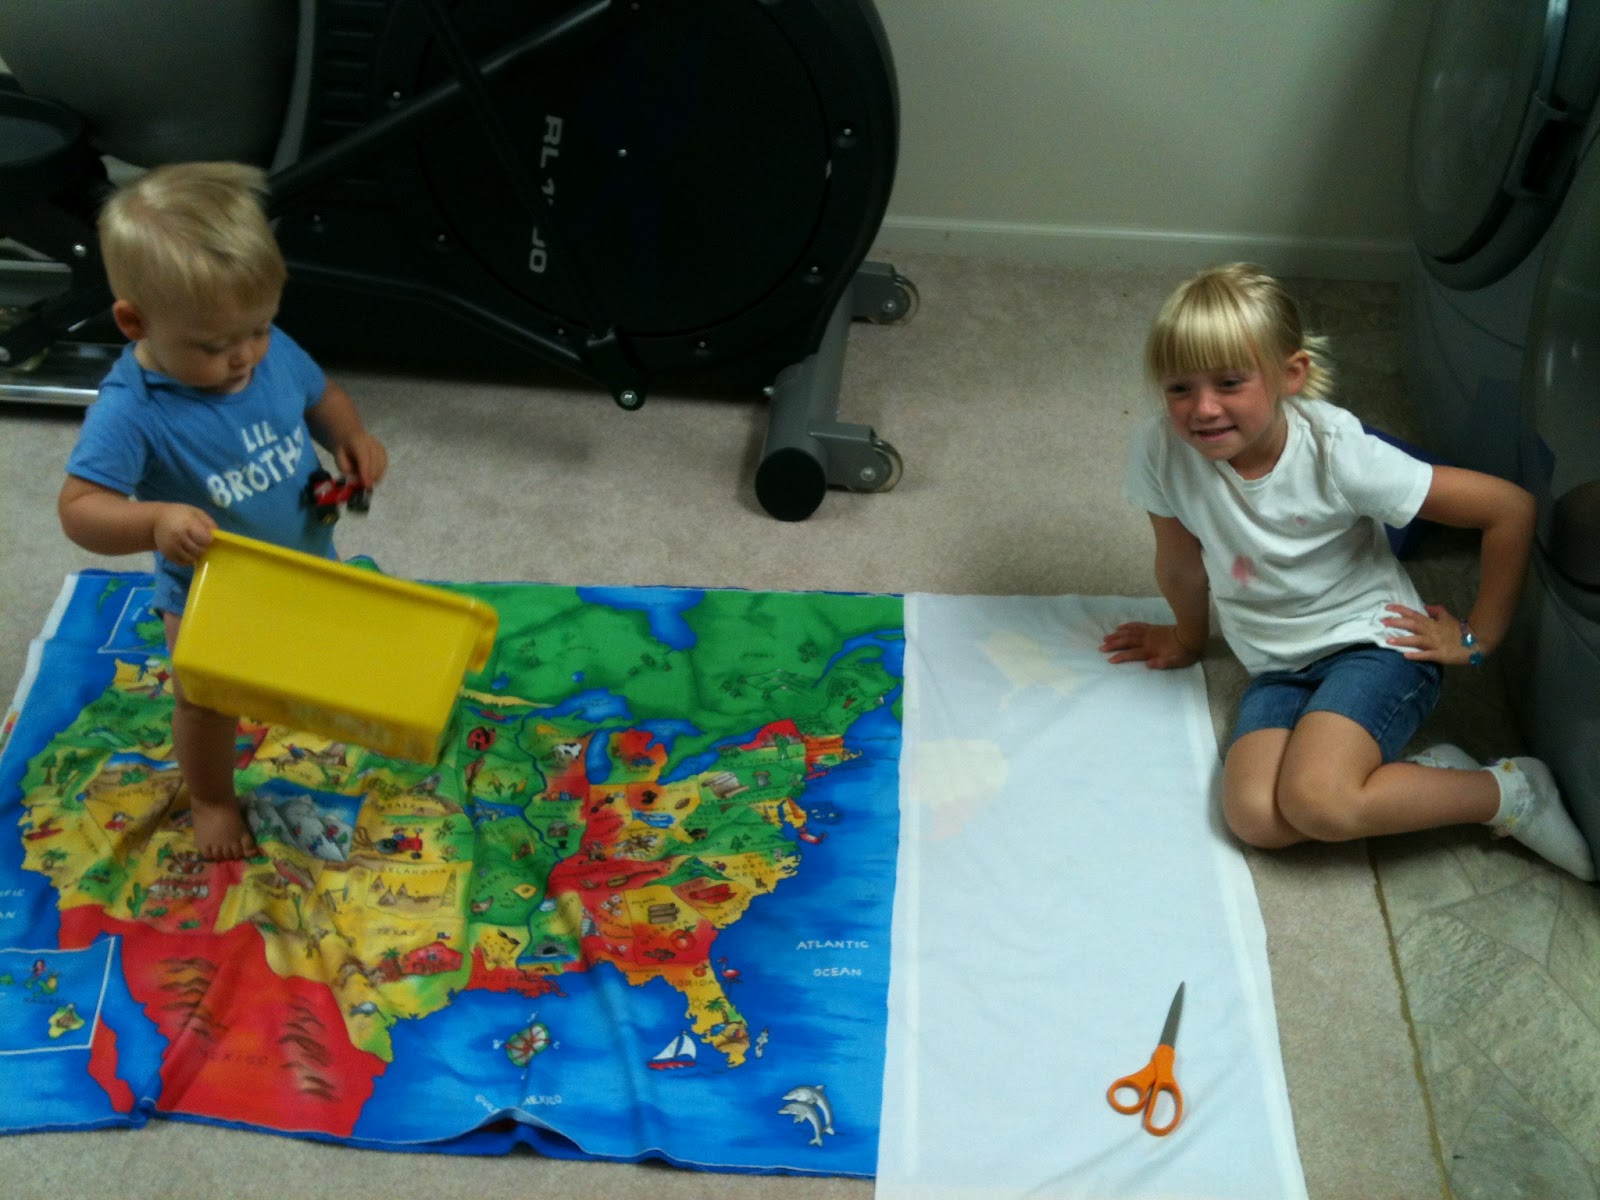
Here's another great idea for a gift or something to use at home.  I had two pieces of fabric that were given to me. The front is the United States and at the bottom of the post is the back the World. I improvised to make the two fit and came up with this arrangement. My kids love pockets, so I added two. At this stage of my life, I was not able to get a picture without the help of two youngsters :) I laid the top and bottom fabric pieces out and cut them  to match evenly.

I hand tacked the two pieces together with batting between.  Or you can use pins. I stabbed myself once while sewing them together because I used so many pins and forgot to be careful. If you do not do this step, then the two fabric layers are likely to shift while you are sewing them together.

Then I started to sew the layers together using a quilting foot. You do not have to have a quilting foot it just gives a more finished look. Good tools help with a good finish.

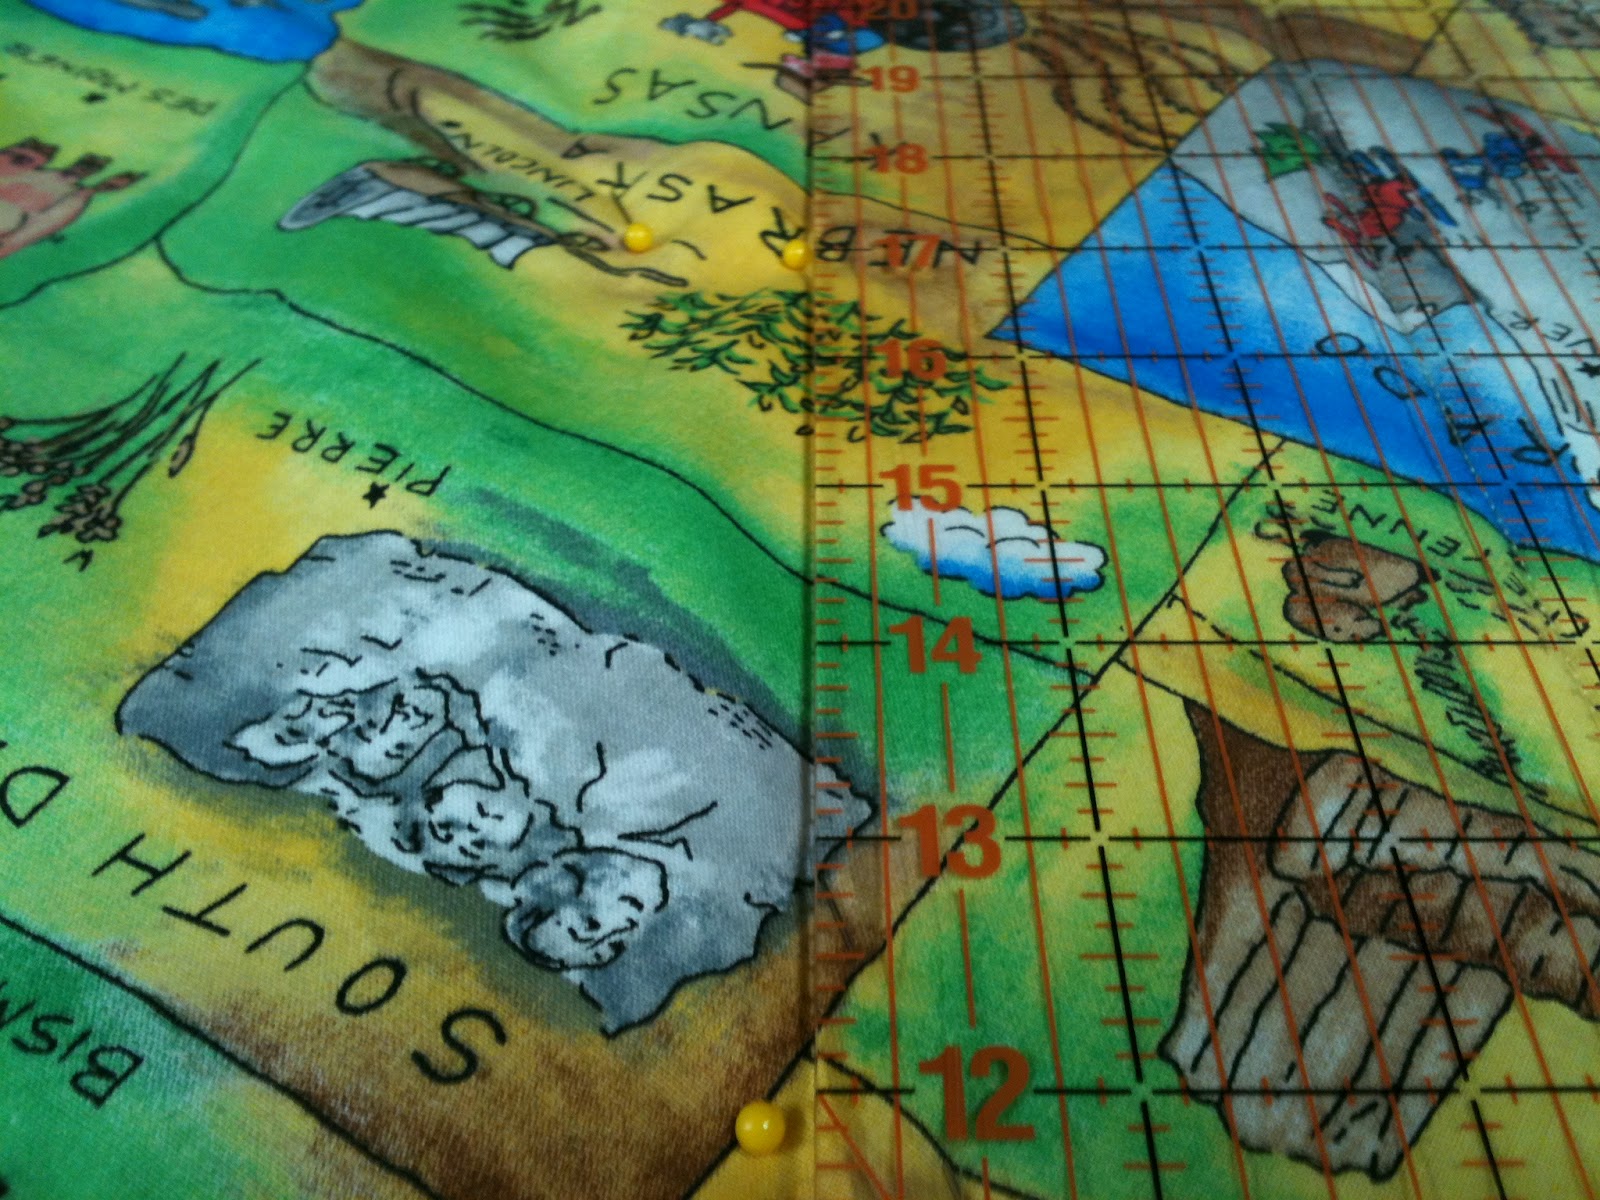
I used a disappearing ink pen to draw sewing lines six inches apart on the front panel piece.


Roll your fabric as you sew, so it will fit in the arm of your sewing machine.

Instead of quilting diagonally across my pockets, I simply followed the pocket seams to attach the fabric, batting and fabric layers.

Once you have finished quilting, turn the bottom piece of fabric, aka binding, over. I made my 3/4 of an inch because that's the amount of fabric I had. You can determine the width based on your liking.
When I got to the corner, I just folded the two edges and sewed at a slight angle to reinforce it.
This is the finished product from the back.

Get Quilting!!
~Julia

Friday, December 14, 2012

Adorable Little Girl Apron

Here's a pattern for an adorable girls apron. Create a matching one for her 18" doll too! The apron pictured on the left was made for a Christmas gift and turned out beautifully. I added a string of "pearls" to each apron for fun. You can purchase strands of inexpensive beads like these at any craft store. They can be cut and sewn onto your fabric just as I have done. Get creative with other embellishments, there are so many possibilities! I've included pictures to help you along the way. The PDF pattern and instructions are located at the bottom of this post. Please feel free to ask me any questions you may have, I'd love to help! 


For the tutorial below, I was using scrap material, so I cut mine from two fabrics. You could use the same fabric, or change it up like I did.


When I sew I like to have a lining, so I cut two.  I sewed right sides together, but don't forget to add your ties and neck strap before you sew them together.


I pinned the ties and straps in place in the center of the apron, so when I was sewing they wouldn't inadvertently get caught in the seam.


I also pinned and the neck strap the same way.


Next pin the right sides together leaving a section between the neckties open, so you can turn it right side out.


If you would like a ruffle, take a 4 in piece of fabric and turn the edge under. Gather the top and pin it in side just like the ties.


Sew


Turn it right sides out.


This is what that will look like. Press. 


Then sew a top stitch over the part that you left open to turn your apron.


If you don't want to have a lining, a faster way with less fabric. Turn the edge under and then add your straps and ties.


*****************************************************************
DOWNLOAD THE PATTERN NOW FOR FREE: GIRLS APRON PATTERN


Instructions:
   Cut two apron ties 22 inches by 2 inches
   Cut one necktie 18 inches by 2 inches
Optional Ruffle:
   Moderately full - 41 inches by 5 inches
   Full - 55 inches by 5 inches
   Tape the four pattern pieces together and cut
   One or two for a reversible apron


Have fun! ~Julia

Saturday, November 17, 2012

Repurposing A Men's Dress Shirt into an Apron

Aprons are a must when you have kids!! Here's a great way to take an old men's shirt and repurpose it into a fun apron for your kids. Click here to see our post on Coveralls.


This came from Martha Stewart Living several years ago. What a great idea!!
~Julia

Sunday, November 11, 2012

Converted to Coveralls

Martha Stewart Living had this article several years ago.  I just love these coveralls. They are soo cute. If you have a husband who is handy, this is a fun way for your kids to relate to him.
 I was hoping to find the original article online to link-up, but so far no luck.  This is definitely all the tutorial you need to complete this project!! Repurposing is always so fun :)

~Julia

Friday, November 9, 2012