
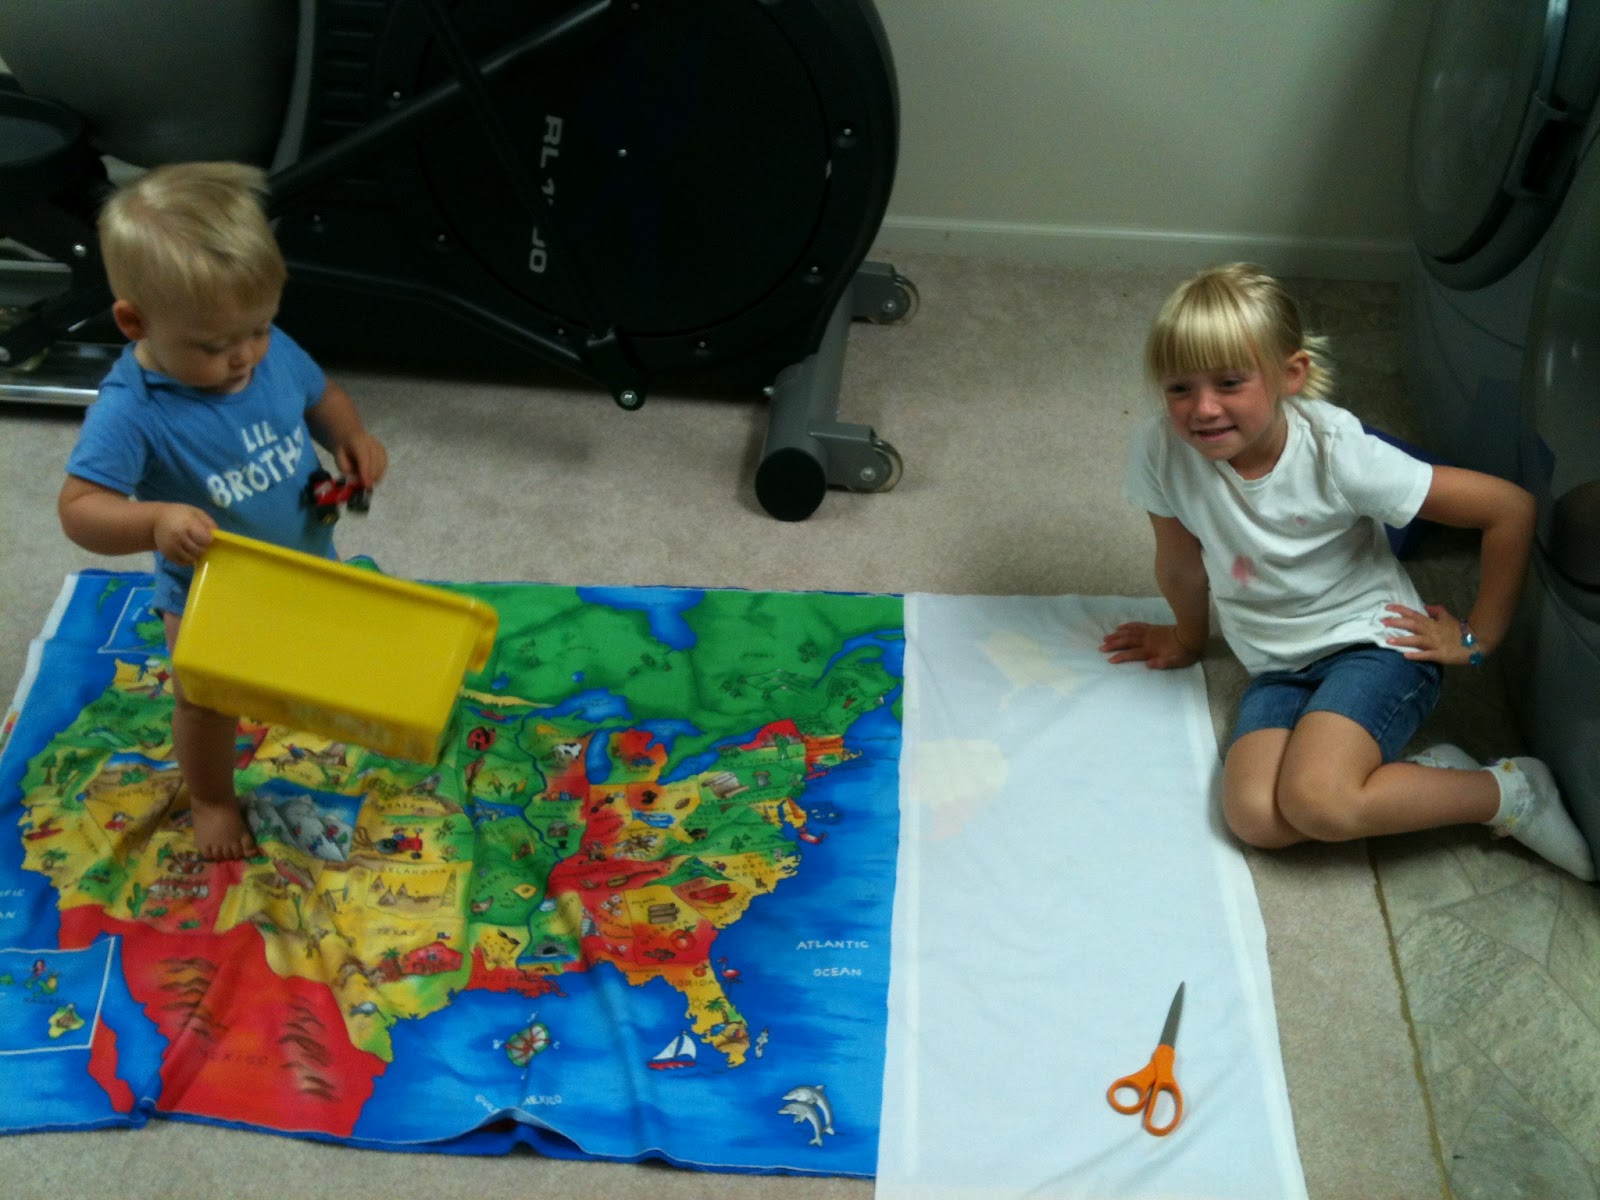
 Here's another great idea for a gift or something to use at home. I had two pieces of fabric that were given to me. The front is the United States and at the bottom of the post is the back the World. I improvised to make the two fit and came up with this arrangement. My kids love pockets, so I added two. At this stage of my life, I was not able to get a picture without the help of two youngsters :) I laid the top and bottom fabric pieces out and cut them to match evenly.
I hand tacked the two pieces together with batting between. Or you can use pins. I stabbed myself once while sewing them together because I used so many pins and forgot to be careful. If you do not do this step, then the two fabric layers are likely to shift while you are sewing them together.

Then I started to sew the layers together using a quilting foot. You do not have to have a quilting foot it just gives a more finished look. Good tools help with a good finish.


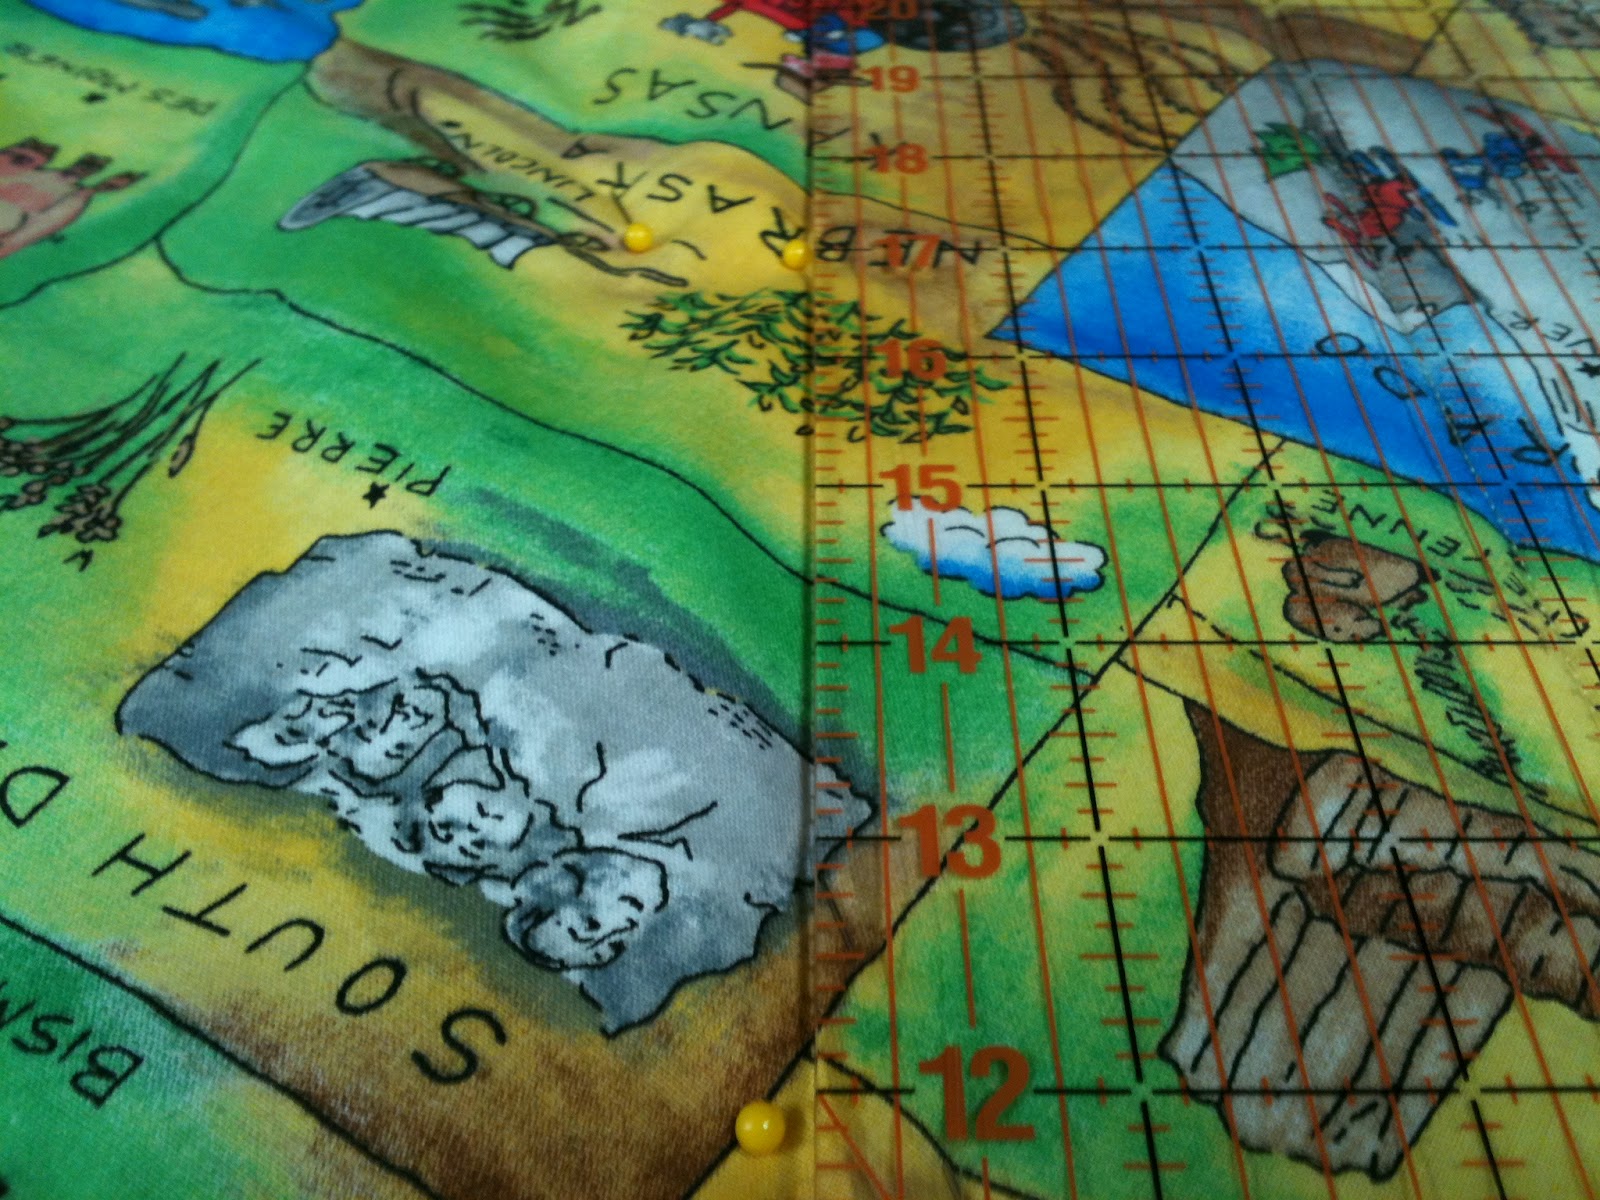
I used a disappearing ink pen to draw sewing lines six inches apart on the front panel piece.

Roll your fabric as you sew, so it will fit in the arm of your sewing machine.

Instead of quilting diagonally across my pockets, I simply followed the pocket seams to attach the fabric, batting and fabric layers.

Once you have finished quilting, turn the bottom piece of fabric, aka binding, over. I made my 3/4 of an inch because that's the amount of fabric I had. You can determine the width based on your liking.

When I got to the corner, I just folded the two edges and sewed at a slight angle to reinforce it.

Get Quilting!!
~Julia
No comments:
Post a Comment